.png)
.png)
.png)
![Evolution Master[2]](/w/File:Eqp_Evolution_Master.png)


.png)

.png)
.png)
.png)
.png)
.png)
.png)
.png)
.png)
.png)


-
 System Monster N1
 -
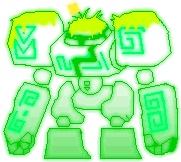 System Monster N2
 -
 System Monster N3
 -
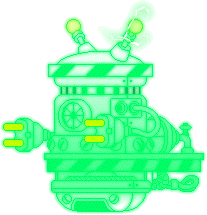 Guidance System (Version 2)
 -
 System Monster N4
 -
 Infinity
 -
Division
-
 System Monster N5
 -
 System Monster N5-1
 -
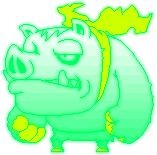 System Monster E10
 -
System Monster F1
-
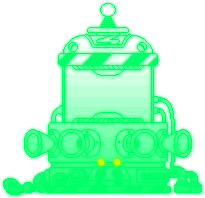 Protectron
 -
 Standard Model T-1
 -
 Enhanced Model T-2
 -
System Monster G6
Evolution System
Jump to navigation
Jump to search
 Removed Content / Feature Removed Content / Feature
|
| This article contains information no longer in-game, and are thus historical records of MapleStory. |
The Evolution System was a dungeon which allowed players to customize a map based on their preferences. Settings could be changed via special Cores, obtained by eliminating monsters inside the System, purchased through the NPC, or exchanged with Evolving Coins. The Cores could be applied to change the settings of the maps and monsters inside. Players would initially have access to Links 1-5 and 3 basic Core slots, and each Link would have a quest that could be completed for additional Evolving Coins and Traits. Certain Cores would enable special quests to unlock access to Links 6-9, 3 additional basic Core slots, and 1 Unique Core slot. Players could also summon clones of Cygnus and her Chief Knights, all of which could drop Level 140 Empress Equipment, including Shoulders.
Evolution System was released in two iterations. The first allowed players to enter 5 times per day with a 30-minute time limit per entry (later reduced to 20-minute), and each of the maps were interlinked. The second iteration expanded the story and changed it to 3 entries per day with a 15-minute time limit, while removing access to some of the Cores and changing some of the map layouts.
As of late 2023, the Evolution System has been removed from all servers due to lack of participation. Evolving Secondary Weapons can be obtained from the Evolving Secondary Weapon Selection Box, sold by NPC Neville. With the removal of the Evolution System, the story instead plays at the beginning of Act 1 of Black Heaven as a prologue.
Story
In the Verne Mine, Orchid continued to lament over Lotus's condition and demanded to know whether Gelimer's experiments would truly bring him back. Gelimer assured her that Lotus would return in perfect form. Soon after, Gelimer moved Lotus from Orchid's room to a new area of the laboratory called the Evolution Lab, where he finished transforming Lotus into the perfect Xenoroid.
Orchid soon discovered the Evolution Lab and demanded to know why he had moved Lotus without her permission. She threatened Gelimer and reminded him that his experiments should have concluded months ago. Gelimer promised that Lotus would awaken imminently and demonstrated his claim by releasing Lotus from his pod.
Orchid was overjoyed to see her brother awaken, but she quickly grew confused when he wouldn't respond to her. Gelimer then commanded Lotus to execute Program Alpha-97, which caused Lotus to turn on his sister and drain her half of the Wing Master powers.
Gelimer revealed that he had succeeded in taking control of Lotus, who himself had the ability to control others, and explained that he had deliberately kept Lotus's brain in hibernation, since his powers were all that Gelimer wanted. Severely injured, Orchid weakly asked Gelimer why he needed Lotus's body. Gelimer explained that the Black Mage required a vessel, not another follower, and with that, he left Orchid to die and took Lotus with him.
Soon after, the Resistance discovered the Evolution Lab and found an unconscious Orchid. Checky took Orchid into custody and brought her back to the Secret Plaza, where they nursed her back to health in order to interrogate her. However, Orchid's condition was still too fragile, and so Claudine mobilized the Alliance in order to assess the situation.
Soon after, the Resistance discovered the Evolution Lab and found an unconscious Orchid, whom they brought back to the Secret Plaza. Claudine briefed the other Resistance leaders on what had happened between Orchid and Gelimer, adding that Orchid was now just like a normal little girl without her powers. She explained that she hadn’t put Orchid in prison because of her fragile condition, though she hoped to make Orchid pay for her crimes soon enough. In order to learn more about what Gelimer was plotting Claudine decided to send Belle to investigate the Evolution Lab.
Several days later, Brighton rushed urgently to Claudine and informed her that Orchid had managed to escape. Meanwhile, Orchid traveled to the Evolution Lab, where she encountered a hologram of Lotus, which had been created as the interface for the Evolution System. Orchid quickly realized that the hologram was an AI created by Gelimer and grew angry, causing the last remnants of her Wing Master power to manifest. The AI detected Orchid as a threat and attacked her, immediately knocking her out.
The Resistance then discovered Orchid and brought her back to the Secret Plaza, where Claudine treated her injuries. Soon after, she spoke with Brighton and explained that though she had done all that she could medically, Orchid had fallen into a coma. Just then, Belle arrived from the Evolution Lab and explained her findings. She told them that the Evolution System had evolved by itself without any changes to its internal system and begrudgingly admitted that Gelimer was a genius, despite how much it pained her to say.
She explained that the system was capable of making its own judgments, allowing it to evolve into a stronger model on its own. Having recognized Orchid as a strong enemy, it had enhanced its own system to accommodate. As they wondered what this would mean, Orchid suddenly called out to Lotus from her coma, surprising the group. Far away, Lotus shed a tear for the sister whom he had been forced to turn against. Gelimer was surprised to see Lotus crying, as he had believed that he had suppressed all of Lotus's emotions and desires. As Gelimer set out to correct the behavior, Lotus also called out to Orchid.
As the Alliance continued to use the Evolution System in order to learn more about it, the system recorded the combat data of countless Alliance members and imprinted it onto Lotus in order to have him analyze and enhance his own battle algorithms, thus making him even stronger.
Cores
 Monster Level (up to Level 160):
- +3
- +4
- +5
- +7
- +9
- +10
 Monster HP:
- ×1.2
- ×1.5
- ×5
- ×10
- ×20
 Monster Population:
- +20%
- +30%
- +70%
- +100%
 (Unique Core) +50%
 Monster Skin:
- Classic
- Fairy
- Ghost
- Animal
- Plant
- Thief
- Giganto
 BGM:
BGM:
 Map Skin:
- Empress Road
- Tranquil Moonlight
- Elven Forest
- Desolate Moor
- Forbidden Time
- Outer Space
- Omega Sector
- Neo City
 Party EXP:
- +5%
- +10%
- +15%
 (Unique Core) +5%
 Threat Fabrication:
 Drop Rate::
- +5%
- +10%
- +15%
- +20%
- +25%
- +30%
 (Unique Core) +20%
 Herb Drop Rate:
- +10%
- +20%
- +30%
- +40%
- +50%
- +100%
 Mineral Drop Rate:
- +10%
- +20%
- +30%
- +40%
- +50%
- +100%
 Rare Equipment Drop:
- Equipment will drop at Rare tier or higher
 Herb Drop (any of the following):
- Marjoram (Seed and Flower)[1]
- Lavender (Seed and Flower)[1]
- Rosemary (Seed and Flower)[1]
- Mandarin (Seed and Flower)[1]
- Lemon Balm (Seed and Flower)[1]
- Peppermint[1]
- Jasmine (Seed and Flower)[1]
- Tea Tree (Seed and Flower)[1]
- Chamomile (Seed and Flower)[1]
- Patchouli (Seed and Flower)[1]
- Juniper Berry (Seed and Flower)[1]
- Hyssop[1]
 Mineral Drop (any of the following):
- Silver Ore[1]
- Opal Ore[1]
- Orihalcon Ore[1]
- Amethyst Ore[1]
- Steel Ore[1]
- Sapphire Ore[1]
- Bronze Ore[1]
- Adamantium Ore[1]
- Mithril Ore[1]
- Emerald Ore[1]
- Gold Ore[1]
- Topaz Ore[1]
- AquaMarine Ore[1]
- Diamond Ore[1]
- Garnet Ore[1]
- Black Crystal Ore[1]
- Lidium Ore[1]
 Armor Drop:
- Level 100 Warrior
- Level 110 Warrior
- Level 100 Magician
- Level 110 Magician
- Level 100 Bowman
- Level 110 Bowman
- Level 100 Thief
- Level 110 Thief
- Level 100 Pirate
- Level 110 Pirate
Weapon Drop:
- Level 100
- Level 105
- Level 110
- Level 120 Necromancer
.png)
.png) Quests:
Quests:
- [System Revamp] Evolution System (Unlocks 3 additional basic Core slots)
- [System Revamp] Accelerator (Unlocks Unique Core slot)
- [System Revamp] Link 6 Access Error (Unlocks Link 6)
- [System Revamp] Link 7 Access Error (Unlocks Link 7)
- [System Revamp] Link 8 Access Error (Unlocks Link 8)
- [System Revamp] Link 9 Access Error (Unlocks Link 9)
.png) Missions:
Missions:
- [Selectable Program] Difficulty Challenge (Complete the Link 1 mission with enhanced monster stats)
- [Selectable Program] Determine Weakness (Eliminate 100 System Monster N3 with enhanced monster stats)
- [Selectable Program] Energy Distribution (Obtain 20 Power Supplies from System Monster F1 in Link 7)
- [Selectable Program] Monster Enhancement (Eliminate 20 Standard Model T-1s and 20 Enhanced Model T-2s in Link 8)
- [Selectable Program] Shadow Monster (Eliminate Shadow Cygnus in Link 9)
Gallery
Equipment
Items
Maps
Version 1
-
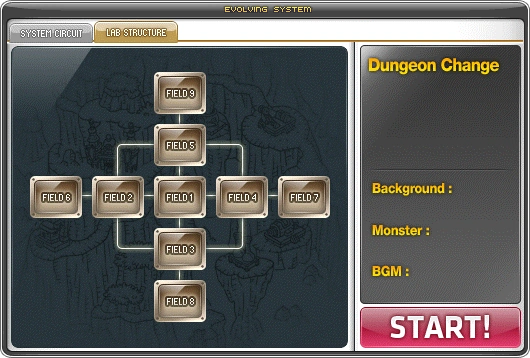 The ESS structure / world map
 -
 Evolution Lab
 -
 Link 1
 -
 Link 2
 -
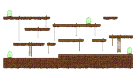 Link 3
 -
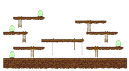 Link 4
 -
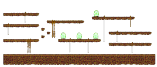 Link 5
 -
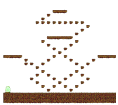 Link 6
 -
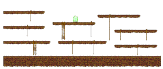 Link 7
 -
 Link 8
 -
 Link 9
Version 2
-
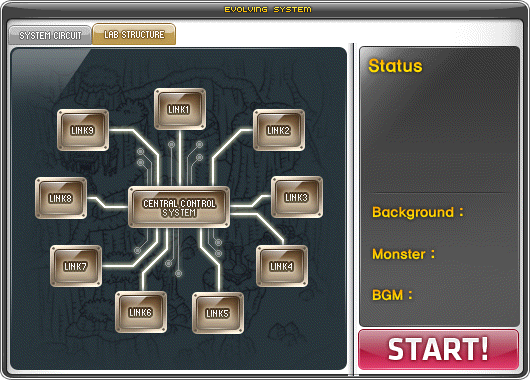 The ESS structure / world map
 -
Evolution Lab
-
 Central Control System
 -
 Link 1
 -
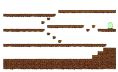 Link 2
 -
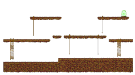 Link 3
 -
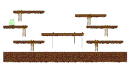 Link 4
 -
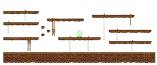 Link 5
 -
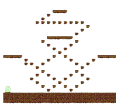 Link 6
 -
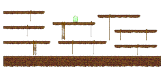 Link 7
 -
 Link 8
 -
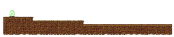 Link 9
Monsters


-
System Monster N1
-
 System Monster N2
 -
 System Monster N3
 -
Guidance System (Version 2)
-
 System Monster N4
 -
 Infinity
 -
Division
-
 System Monster N5
 -
System Monster N5-1
-
System Monster E10
-
System Monster F1
-
Protectron
-
Standard Model T-1
-
Enhanced Model T-2
-
 System Monster G6


-
 System Monster N1
 -
 System Monster N2
 -
 System Monster N3
 -
Guidance System (Version 2)
-
 System Monster N4
 -
 Infinity
 -
Division
-
 System Monster N5
 -
System Monster N5-1
-
System Monster E10
-
System Monster F1
-
Protectron
-
Standard Model T-1
-
Enhanced Model T-2
-
 System Monster G6


-
 System Monster N1
 -
 System Monster N2
 -
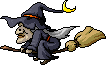 System Monster N3
 -
Guidance System (Version 2)
-
 System Monster N4
 -
 Infinity
 -
Division
-
 System Monster N5
 -
System Monster N5-1
-
System Monster E10
-
System Monster F1
-
Protectron
-
Standard Model T-1
-
Enhanced Model T-2
-
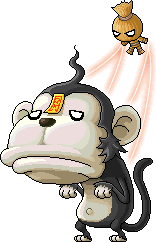 System Monster G6


-
 System Monster N1
 -
 System Monster N2
 -
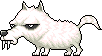 System Monster N3
 -
Guidance System (Version 2)
-
 System Monster N4
 -
 Infinity
 -
Division
-
 System Monster N5
 -
System Monster N5-1
-
System Monster E10
-
System Monster F1
-
Protectron
-
Standard Model T-1
-
Enhanced Model T-2
-
 System Monster G6


-
 System Monster N1
 -
 System Monster N2
 -
 System Monster N3
 -
Guidance System (Version 2)
-
 System Monster N4
 -
 Infinity
 -
Division
-
 System Monster N5
 -
System Monster N5-1
-
System Monster E10
-
System Monster F1
-
Protectron
-
Standard Model T-1
-
Enhanced Model T-2
-
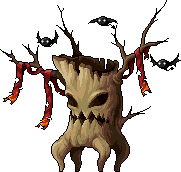 System Monster G6


-
 System Monster N1
 -
 System Monster N2
 -
 System Monster N3
 -
Guidance System (Version 2)
-
 System Monster N4
 -
 Infinity
 -
Division
-
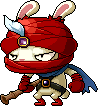 System Monster N5
 -
System Monster N5-1
-
System Monster E10
-
System Monster F1
-
Protectron
-
Standard Model T-1
-
Enhanced Model T-2
-
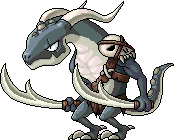 System Monster G6


-
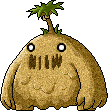 System Monster N1
 -
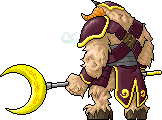 System Monster N2
 -
 System Monster N3
 -
Guidance System (Version 2)
-
 System Monster N4
 -
 Infinity
 -
Division
-
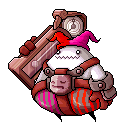 System Monster N5
 -
System Monster N5-1
-
System Monster E10
-
System Monster F1
-
Protectron
-
Standard Model T-1
-
Enhanced Model T-2
-
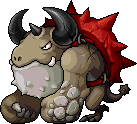 System Monster G6


-
![Fabricated Manon[1]](https://media.maplestorywiki.net/yetidb/Mob_Manon.png) Fabricated Manon[1]
Fabricated Manon[1] -
![Fabricated Pianus[1]](https://media.maplestorywiki.net/yetidb/Mob_Pianus.png) Fabricated Pianus[1]
Fabricated Pianus[1] -
![Fabricated Griffey[1]](https://media.maplestorywiki.net/yetidb/Mob_Griffey.png) Fabricated Griffey[1]
Fabricated Griffey[1] -
![Broken Auto Security[1]](https://media.maplestorywiki.net/yetidb/Mob_Security_Camera.png) Broken Auto Security[1]
Broken Auto Security[1] -
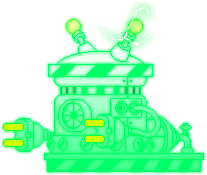 Guidance System (Version 1, Active)
 -
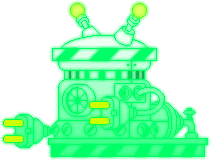 Guidance System (Version 1, Inactive)
 -
 Fabricated Mihile
 -
 Fabricated Oz
 -
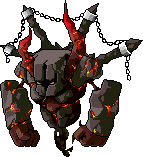 Fabricated Ifrit
 -
 Fabricated Irena
 -
 Fabricated Eckhart
 -
 Fabricated Hawkeye
 -
 Shadow Cygnus
![Fabricated Manon[1]](/w/File:Mob_Manon.png)
![Fabricated Pianus[1]](/w/File:Mob_Pianus.png)
![Fabricated Griffey[1]](/w/File:Mob_Griffey.png)
![Broken Auto Security[1]](/w/File:Mob_Security_Camera.png)
.png)
.png)


NPCs
-
 ESS
ESS -
 Vendor-C2
Coin Shop -
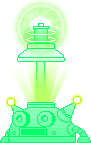 Monster Generator
 -
 Link 2 Control Device
 -
Gatekeeper
-
Link 6 Control Device
-
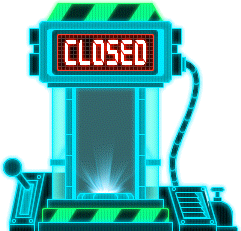 Link (Closed)
 -
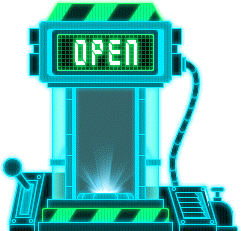 Link (Open)
 -
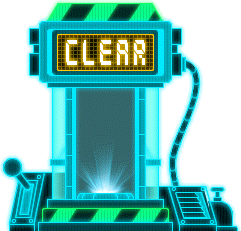 Link (Clear)


.png)
.png)
.png)
Other
-
 Evolution System Map icon
 -
 Evolution System Maple Guide icon


References
- ↑ 1.00 1.01 1.02 1.03 1.04 1.05 1.06 1.07 1.08 1.09 1.10 1.11 1.12 1.13 1.14 1.15 1.16 1.17 1.18 1.19 1.20 1.21 1.22 1.23 1.24 1.25 1.26 1.27 1.28 1.29 1.30 1.31 1.32 1.33 1.34 1.35 1.36 Version 1 only
- ↑ Rewarded after using a total of 500 cores, inviting other party members to your Virtual World 35 times, and visiting other players' Virtual Worlds 35 times